

Step 3: Flattening
This step is pretty simple, hence the shockingly short tutorial.
After finishing the previous two steps, we’re supposed to have a pooled feature map by now. As the name of this step implies, we are literally going to flatten our pooled feature map into a column like in the image below.

The reason we do this is that we’re going to need to insert this data into an artificial neural network later on.
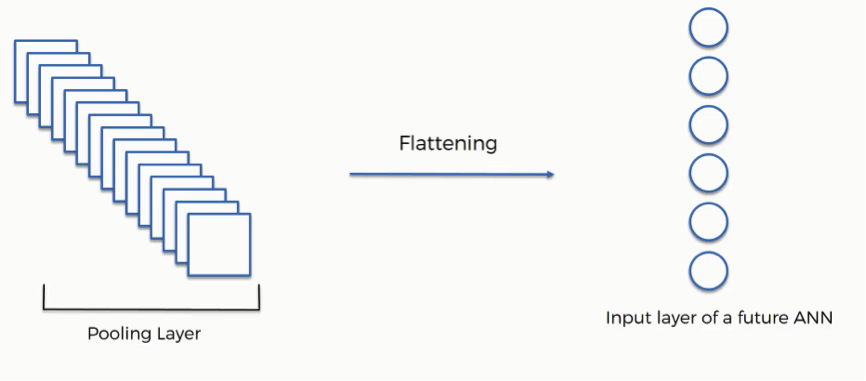
As you see in the image above, we have multiple pooled feature maps from the previous step.
What happens after the flattening step is that you end up with a long vector of input data that you then pass through the artificial neural network to have it processed further.
To sum up, here is what we have after we’re done with each of the steps that we have covered up until now:
- Input image (starting point)
- Convolutional layer (convolution operation)
- Pooling layer (pooling)
- Input layer for the artificial neural network (flattening)
In the next tutorial, we will discuss how this data will be used.
Continue with Step 4: Full Connection by Clicking Here